Understanding the Phases of a Quality Project
Installing a driveway is a significant home improvement project that can enhance both the functionality and appearance of your property. It’s essential to understand each step involved in the process to ensure you’re getting the best results. A professional approach not only ensures durability but also adds value to your home. Let’s explore the detailed phases of creating a top-quality driveway, from initial planning to the final touches. This guide will shed light on what to expect at each stage so you can make informed decisions about your investment.

Planning and Design Considerations
Before any construction begins, careful planning and design are crucial. This phase involves evaluating your needs, setting a budget, and selecting materials. The right plan considers factors such as climate, traffic load, and aesthetics. It’s vital to choose a design that complements your home while meeting practical requirements. By investing time in this stage, you ensure that the subsequent steps align with your vision.
Site Preparation Essentials
A successful installation starts with thorough site preparation. This includes clearing the area of debris, trees, or existing structures. Next, grading ensures proper drainage, preventing water damage in the future. It’s important to compact the soil to provide a stable base for the driveway installation. These steps are foundational in ensuring longevity and performance.
Choosing Suitable Materials
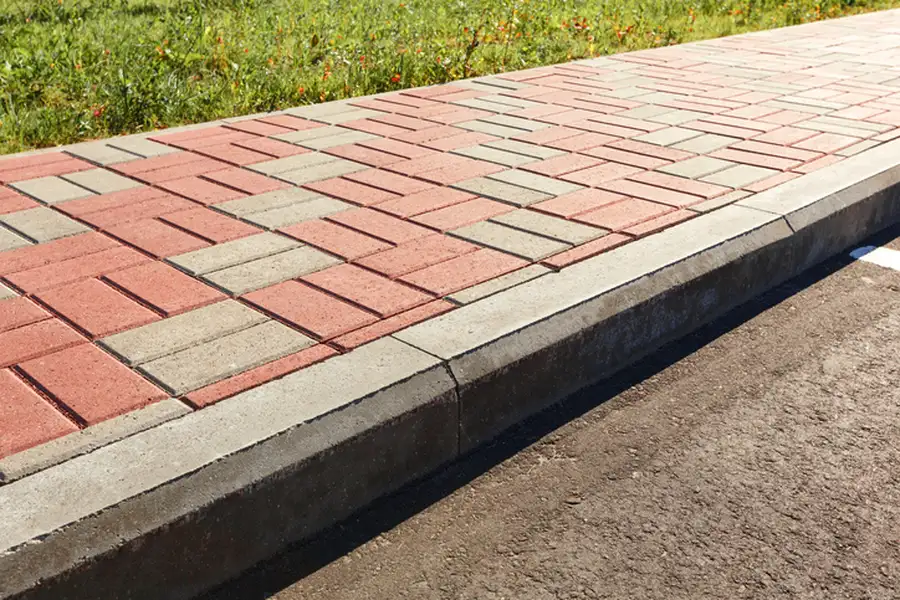
Selecting the right materials is critical in achieving durability and aesthetic appeal. Common options include asphalt, concrete, gravel, and pavers. Each material has its pros and cons regarding cost, maintenance, and lifespan. Asphalt offers flexibility for varied climates, while concrete provides a robust and durable surface. Paver stones add elegance but may require more maintenance. Understanding these differences helps you make an informed choice for your driveway installation.
The Construction Phase Explained
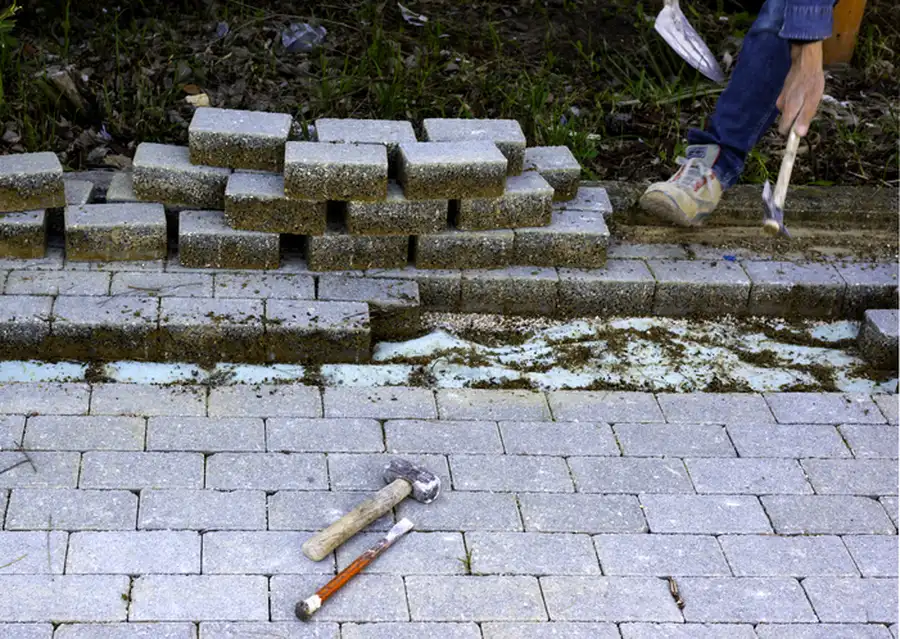
This phase involves laying down the chosen material over the prepared site. For example, if opting for asphalt, it must be heated and spread evenly before being compacted. Concrete requires proper mixing and curing time to achieve maximum strength. It’s crucial that skilled professionals handle this stage to avoid common pitfalls like cracks or uneven surfaces.
Finishing Touches and Maintenance Tips
The installation isn’t complete without the finishing touches that enhance both function and curb appeal. Sealing helps protect against weather elements and prolongs lifespan by preventing cracks and fading. Regular maintenance is key to keeping your driveway looking new for years. This includes cleaning, sealing every few years, and promptly repairing minor damages.
- Regular sweeping to prevent debris buildup
- Sealing every two to three years for asphalt driveways
- Repairing small cracks immediately to prevent them from worsening
Budgeting and Cost Factors
Driveway projects vary widely in cost based on materials, size, and complexity. It’s important to factor in labor costs and potential permits required by local regulations. Investing in quality materials and professional services might be upfront costly but reduces long-term repair expenses. Remember, a well-installed driveway adds substantial value to your property.

Final Recommendations for Your New Driveway
Understanding the step-by-step process ensures you’re prepared for each part of the journey in achieving a reliable driveway. By following this comprehensive guide, you gain confidence in managing expectations and maximizing your investment’s value. Located in Lynn, MA, we offer expert advice tailored to your unique needs. Contact The Right Construction and Landscaping at (781) 632-1348 for professional assistance with all your installation projects.
